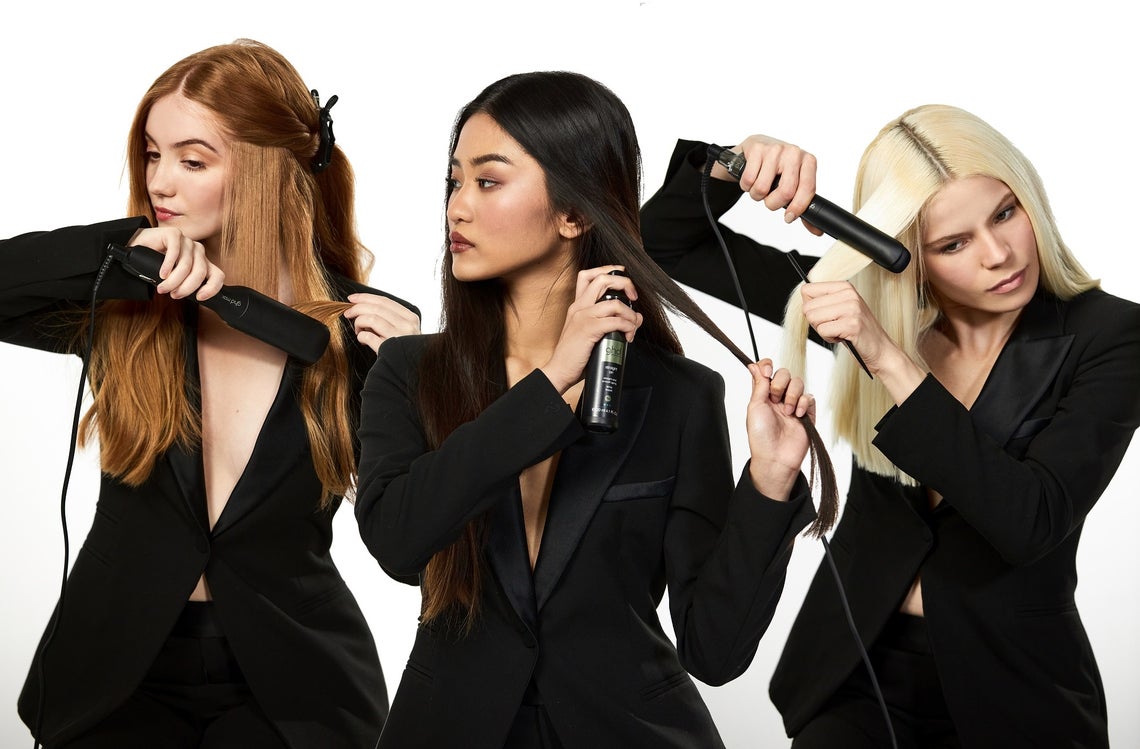

Before purchasing your ghd styling tool it’s important to consider your go-to hair style to ensure you choose the right tool for you. When browsing through the ghd professional range, you’ll soon realise the versatility of each tool. To make sure you utilise your styler to its maximum potential, we have listed some easy steps on how to straighten or curl with the ghd range.
STRAIGHTENING
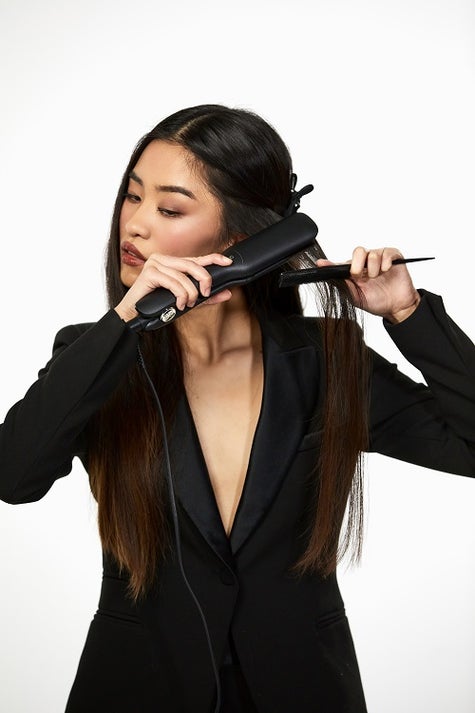
Each ghd straightener is designed to give you a sleek, frizz-free and smooth finish. Therefore, using the platinum+, max wide plate, original IV or mini will be your answer. Regardless of which styler used, you can follow the same steps to achieve your sleek look. Don’t forget, considering your hair type will play a role in which styler suits you, for example, someone with thin hair will opt for the mini versus someone with thick or unruly hair will be better suited to the max wide plate.
Discover our easy guide to achieving straight hair with your styler:
Step 1: Comb or brush wet hair and apply your bodyguard – heat protect spray as well as the pick me up - root lift spray for a 'full' instead of 'flat' finish. Then, dry hair off or blow wave until completely dry.
Step 2: Section your hair in your preferred way. Ideally once down the middle and then sectioned according to the bottom, middle and top part of your head. You may need fewer sections if your hair is shorter or thinner.
Step 3: You’re now ready to tackle each section by running the straightening through each section from the root to the tip of the hair. You can also try running a comb or brush in front of the styler as it runs through the hair for an extra sleek look.
Step 4: When reaching the top of the head you’ll want to make sure your hair doesn’t become flat against your face. Bevel the roots by at the top using the bottom plate – rotating back and forth to achieve a bit of lift and shape.
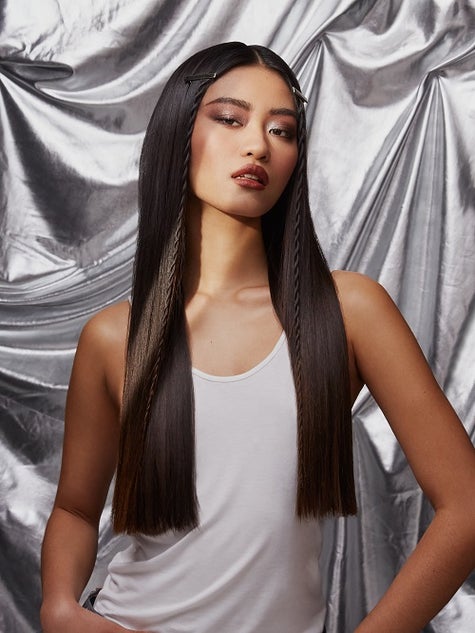
Step 5: If preferred you can use a finishing serum from the mid to end lengths of your hair for an instant smooth and shiny finish. Tip... be playful with your straight look! Don't be afraid to experiment to take it up a level with complimentary plaits or having a half up, half down do.
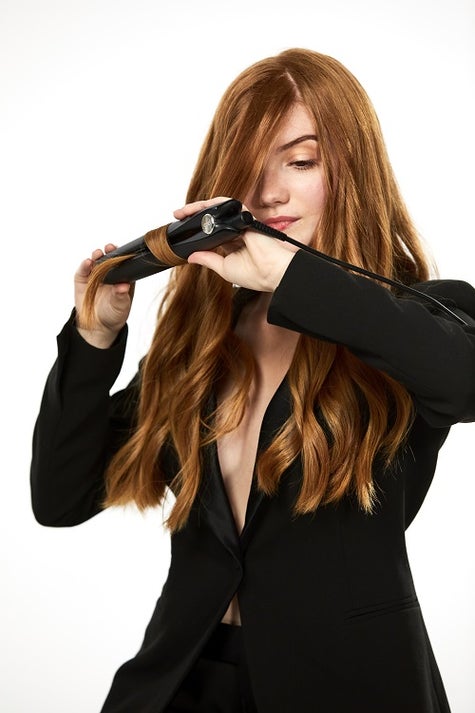
CURLING
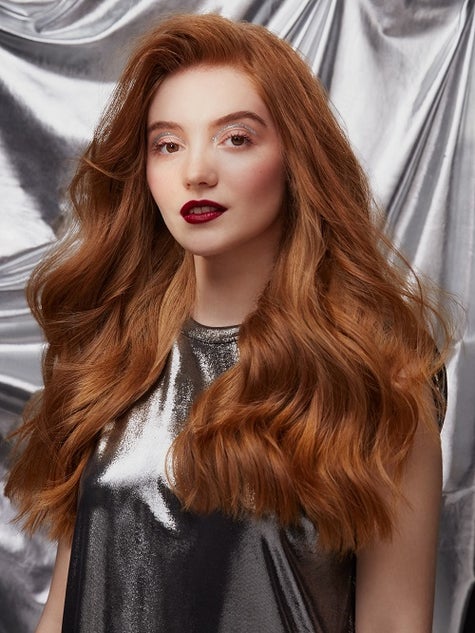
The number of ways to curl your hair and curling styles are endless - beach waves, Hollywood waves, disco waves… I’m sure you’ve heard them all. For an everyday curl/wave, you can use all of the straighteners mentioned above. The platinum+ and original IV are great for medium sized curls. On the other hand, the mini will give you a tighter, ringlet finish and the max wide plate creates a fuller, larger type curl.
Here are a few easy steps to help you achieve the perfect everyday curl:
Step 1: On towel dried hair, spray the pick me up – root lift spray 10cm away from hair towards your roots. You’ll want to ensure this is sprayed approximately 5cm down from your middle part under a handful layer of hair. This will help amplify your bounciness.
Step 2: Apply your trusty bodyguard – heat protect spray and then dry off your hair until it’s completely dry.
Step 3: Similarly to how you straighten, section your hair to easily curl each section so each part of your hair has been evenly captured.
Step 4: Taking each small section at a time, start the styler at the top of the hair, rotate half a turn around the hair and then slowly glide away from your face as you reach the end point.
Step 5: Repeat step 4 as you move around your head, but always alternate the direction of the curl. Tip… when styling the hair at the front of your face, twist the styler away from your face instead of inward.
Step 6: Now that you’re done, finish off with some hairspray and let your hair cool to lock in your style.
Step 7: After a few minutes take a comb or brush and run it through your curls to reveal striking, yet supple, envy-worthy waves.
Step 8: If you want some extra bounce towards the top of your roots you can do a quick tease and brush over once more.
Not a fan of using a straightener to curl? The curve 2.0 wave wand, curve 2.0 classic curl tong, curve 2.0 soft curl tong or rise hot brush are also note-worthy tool options which follow similar steps. The main difference is your working with a wand/tong shaped tool so the hair will need to be wrapped around it in the direction you want it to curl. The curve 2.0 wave wand is perfect for dramatic Hollywood waves, whereas the rise hot brush is the go-to for the ultimate blow-waved, full-bodied curl. Opt for the classic curl tong and soft curl is you're after a softer finish.
To discover ghd’s full range of stylers, shop here.
More reads
What To Expect After Your First IPL Or Laser Session
Starting your IPL or laser hair removal journey is exciting, but unlik...

IPL vs Laser - What's The Difference?
Many people assume >IPL (Intense Pulsed Light) hair removal are the s...
Is at-home Laser Hair Removal Safe?
If you’ve ever hesitated to try at-home >laser hair removal because o...


From Stubble to Statement: The Grooming Guide Every Guy (and His Beard) Needs
Why Beard Care Matters (Beyond Just Looking Good) A beard might make y...
What To Expect After Your First IPL Or Laser Session
Starting your IPL or laser hair removal journey is exciting, but unlik...
IPL vs Laser - What's The Difference?
Many people assume >IPL (Intense Pulsed Light) hair removal are the s...
Is at-home Laser Hair Removal Safe?
If you’ve ever hesitated to try at-home >laser hair removal because o...
From Stubble to Statement: The Grooming Guide Every Guy (and His Beard) Needs
Why Beard Care Matters (Beyond Just Looking Good) A beard might make y...
